
One of the first things you’ll want to do with Garmin Basecamp is send a track to your GPS. This means you’ll have a GPS track on your computer, the ones showing how to get from point A to point B, and then you’ll send it to your GPS, so you can see it out on your hike.
This tutorial applies to Mac version 4.4.6-4.8.11 and Windows version 4.7.3. It will be similar for other versions.
How to send a GPS track to your GPS with Garmin Basecamp
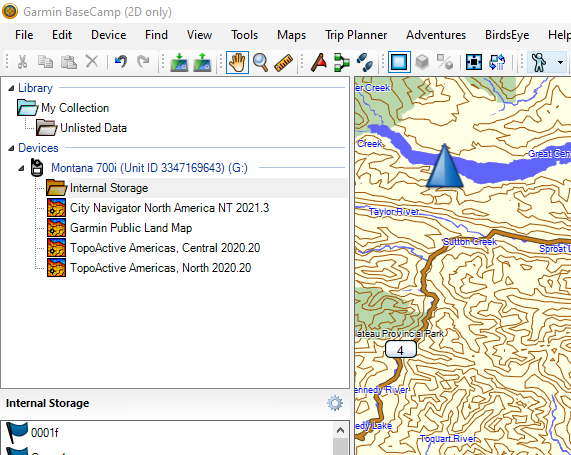
Plug your GPS into your computer with the USB cord. It will show up in Basecamp on the left in the “My Garmin Devices” or “Devices” section.
Find the GPS track that you want to put on your GPS in the “My Collection” folder on the side of the screen. Drag the track from “My Collection” to the GPS. On Mac just drop the track (or tracks) on the GPS name. On Windows drop them into the Internal Storage folder.
The track will still be on your computer but will now be on your GPS as well. Eject your GPS from Basecamp (Right click on your GPS in the menu > Eject) and then turn it on to make sure the GPS track is in your track list on the unit.
One warning. Sometimes it take a couple tries to get it to show up on the GPS. If you don’t see it in the list on your unit, plug it back into he computer and run through the process again. For some reason it might take a couple runs through to stick.
Always double check the track is there before going out!